How to Make an Obby on Roblox with AI
How to make an obby on Roblox with AI: planning stages, checkpoints that save, kill bricks and moving platforms, jump distances, phone testing and a twist.
 RoAutomation teamUpdated 7 min read
To make an obby on Roblox with AI, plan the stages as a list first, each teaching or testing one obstacle. Have the AI build a small kit of obstacles that work from tags (kill bricks, moving and vanishing platforms, spinners), then checkpoints that save the player’s stage, then the stages themselves. Keep early jumps well inside the default jump distance, test every stage on a phone, and add one twist, because plain obbies are one of the most crowded kinds of game on Roblox.
What makes a good Roblox obby?
An obby is an obstacle course: jump, don’t fall, reach the next checkpoint. It is the best first game to build because the parts are simple, and the hardest to stand out with for the same reason. Good ones share three things:
- A fair difficulty curve. Each stage is a little harder than the last, and a death always feels like the player’s own mistake.
- Checkpoints that respect time. Falling costs seconds, not minutes.
- A reason to pick this obby. A theme, a race, a rising floor, a story, a tower with no checkpoints at all. Something the next obby doesn’t have.
Step 1: Choose the twist and plan the stages
Decide the twist before the stages, because it changes how you build them. A four-player race needs side-by-side lanes. A rising-lava tower needs a spiral. A story obby needs rooms.
Then write the stages as a list. A simple pattern that works: teach, test, twist. Introduce one obstacle on its own where failing is cheap. Test it with a longer or tighter version. Then combine it with an obstacle from earlier.
- Stages 1 to 3: plain jumps, wide platforms. Nobody should fail here.
- Stage 4: the first kill brick, on a wide path.
- Stage 5: kill bricks with narrower gaps.
- Stage 6: the first moving platform, slow, over a short drop.
- Stage 7: moving platforms with a kill brick between them.
Roblox’s retention guide says to get players to the fun in five minutes or less, and its discovery docs treat a first session under 60 seconds as a negative signal. An obby that kills new players on stage 2 fails both. Make the first ten stages a warm-up.
Step 2: Know your jump distances
A stage is only fair if the jump can be made. At Roblox’s defaults, a character walks at 16 studs a second and jumps 7.2 studs high, under gravity of 196.2. That works out to about half a second in the air, and a little under 9 studs travelled in a running jump.
- Early gaps: 4 to 6 studs. Easy on any device.
- Mid-game gaps: 7 to 8 studs. Needs a running start.
- Height: a platform more than about 7 studs above the last one can’t be reached with a plain jump.
- If you change WalkSpeed or JumpHeight, every distance changes with it, so settle those first.
Give these numbers to the AI in the prompt. Without them it will build gaps by eye, and some will be impossible.
Step 3: Build an obstacle kit with tags
Don’t put a script inside every obstacle. Tag the parts, and let one script run each kind. A prompt that works:
“Build an obstacle kit using CollectionService tags. KillBrick: kills a character on touch. MovingPlatform: tweens between two points read from attributes, and carries players. Vanishing: fades out after it is stepped on and comes back after a delay. Spinner: rotates at a speed from an attribute. One server script per tag handles every part with that tag.”
Now building a stage is placing parts and adding tags, which is quick for you and for an AI. Fixing a bug in moving platforms fixes all of them at once.
Step 4: Checkpoints that save
- One checkpoint per stage, numbered in order.
- On touch, the server records the player’s stage if it is the next one, and sets where they respawn.
- A Stage value in leaderstats, so the leaderboard shows who is furthest.
- Saving with DataStoreService, wrapped in pcall, so a player who returns tomorrow starts where they stopped.
- No skipping. Only accept the next checkpoint in order, on the server, so nobody can teleport to the end.
Test it by reaching stage 5, falling, leaving and rejoining. You should come back at stage 5 each time.
Step 5: Test it on a phone
Most Roblox players are on phones, and a thumbstick is less exact than a keyboard. A jump that is tight on PC can be miserable on a phone. Studio’s Device Simulator lets you preview a phone screen and touch controls without leaving Studio, so use it on every stage:
- Widen landing platforms on early stages.
- Avoid long runs of single-stud jumps.
- Check the camera in tight spaces, where a wall can hide the next jump.
- Keep any buttons clear of the thumbstick and the jump button.
Step 6: Give players a reason to stay and return
- A timer and a best time, so a finished stage can be replayed for speed.
- A win, with a badge and a place on a leaderboard.
- Skip stage, as a developer product. It is the classic obby purchase, because a player stuck on one stage would rather pay than quit.
- Passes for permanent perks, such as a speed or gravity coil, if they fit your stages.
- New stages in updates. An obby with an end needs more obby.
Having a team of agents build it
All of this works with any AI and Roblox Studio. RoAutomation does it as a team. Pulse checks which kinds of obby are rising on Roblox’s charts, so the twist isn’t a guess. Architect writes the stage list with the jump distances. Builder codes the obstacle kit and the checkpoints in your own Roblox Studio. Scenic builds and dresses the stages, and Playtest and the Kid Tester play them on PC, phones and a gamepad and report every jump that can’t be made.
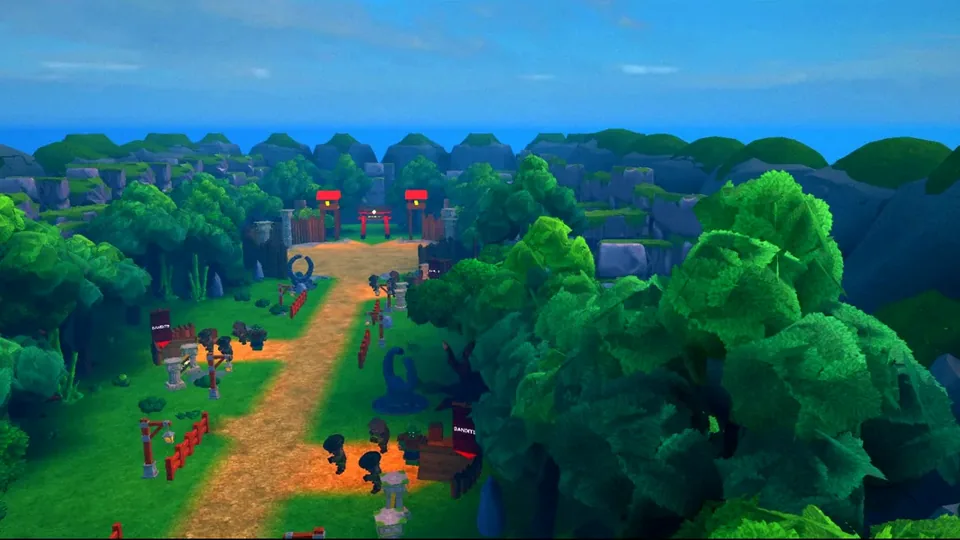
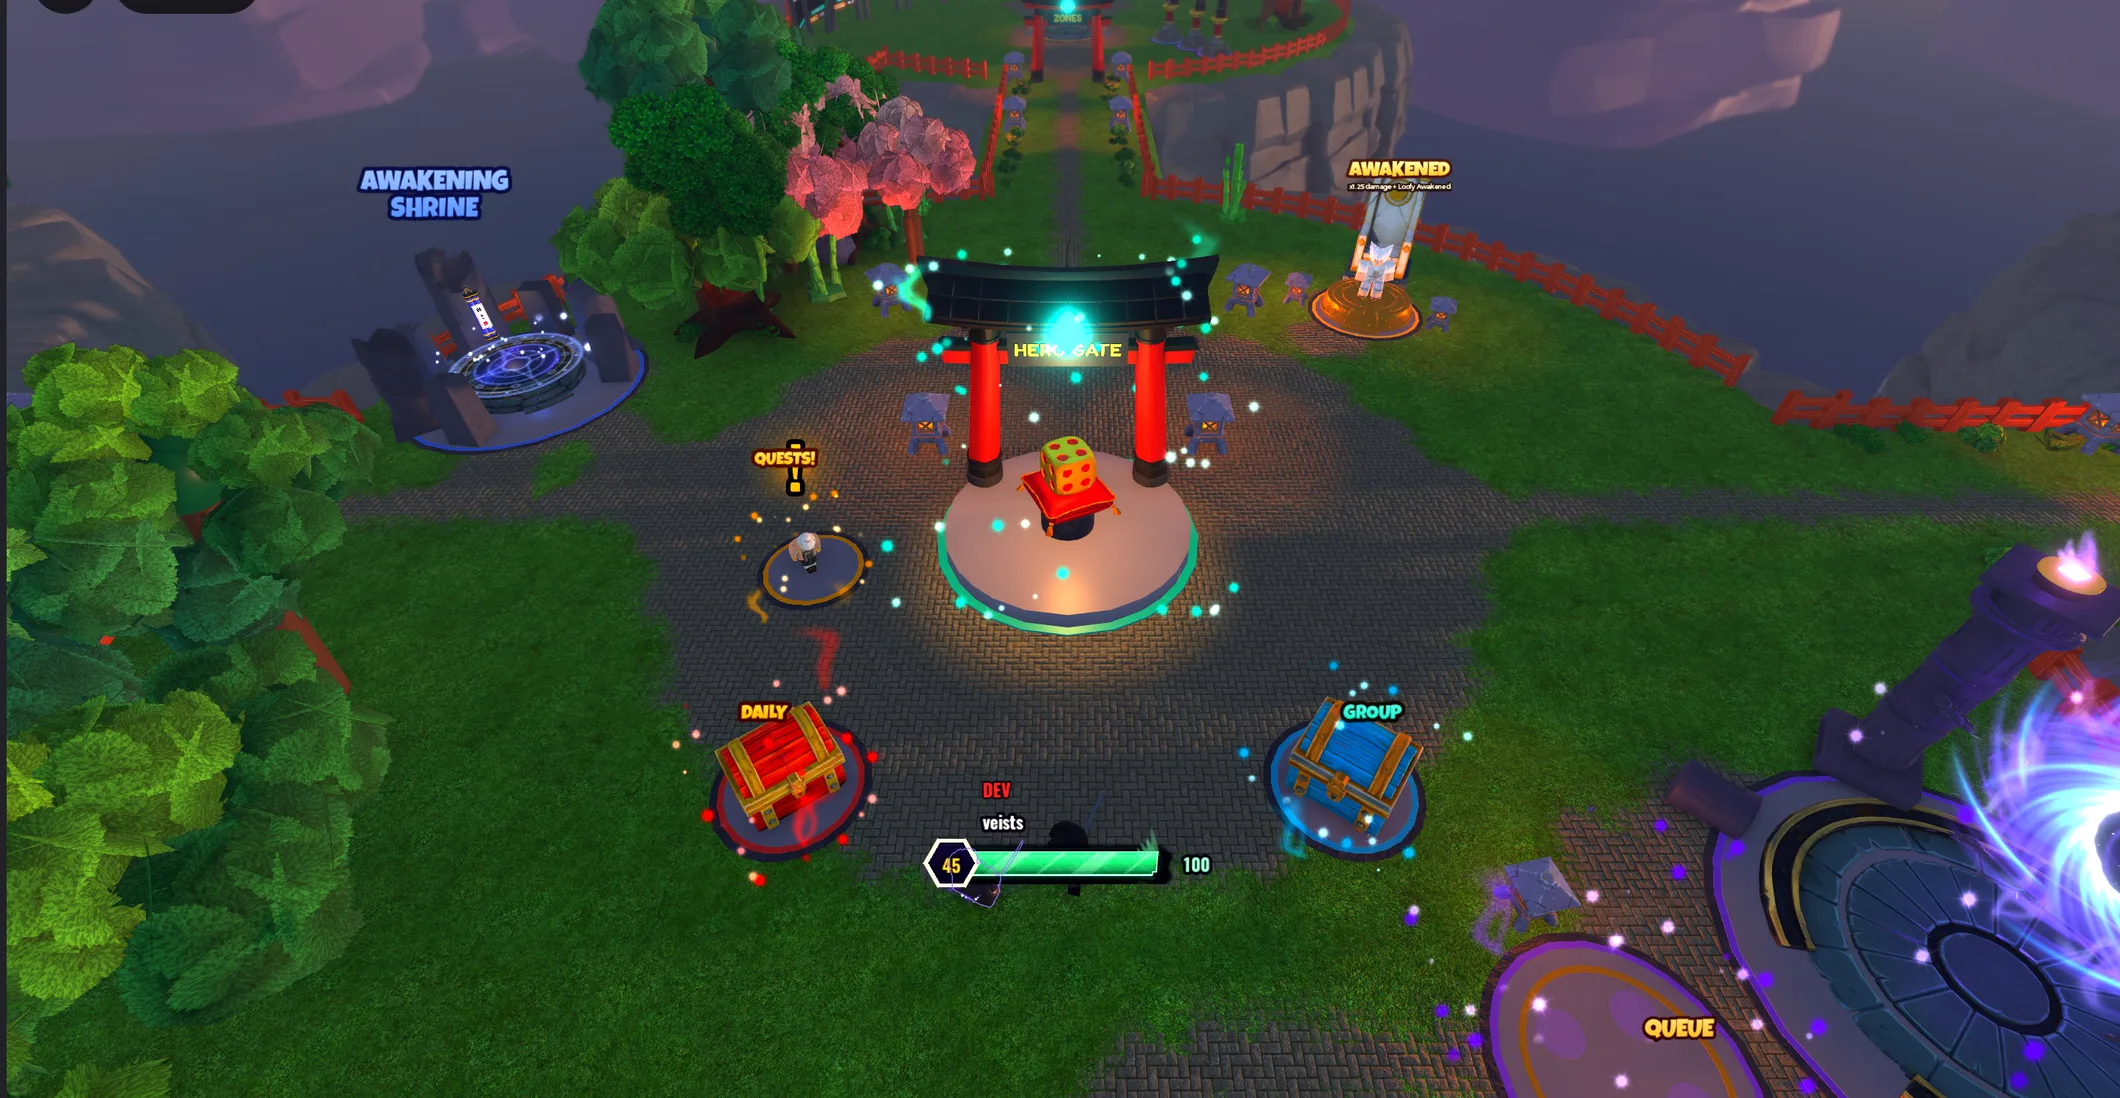
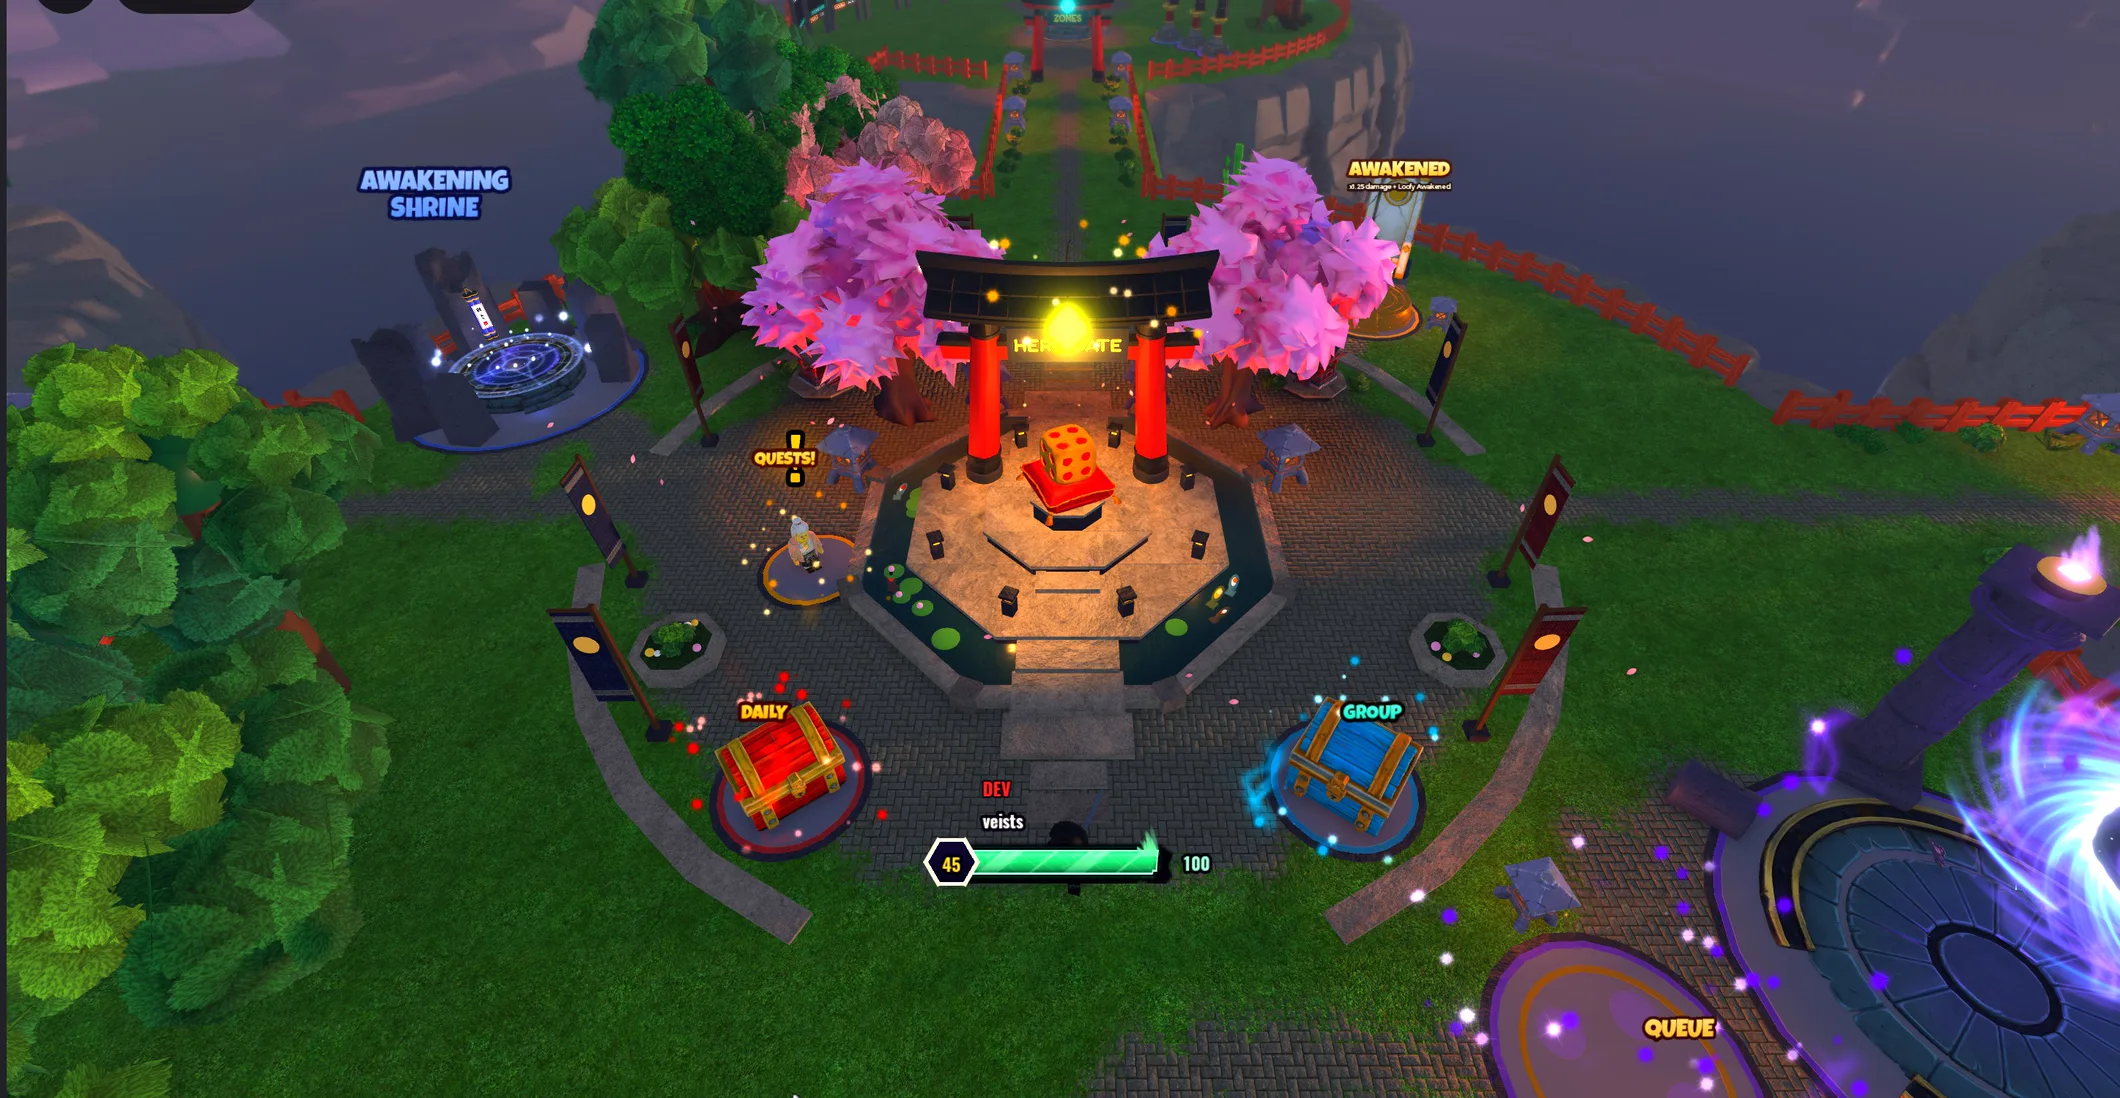
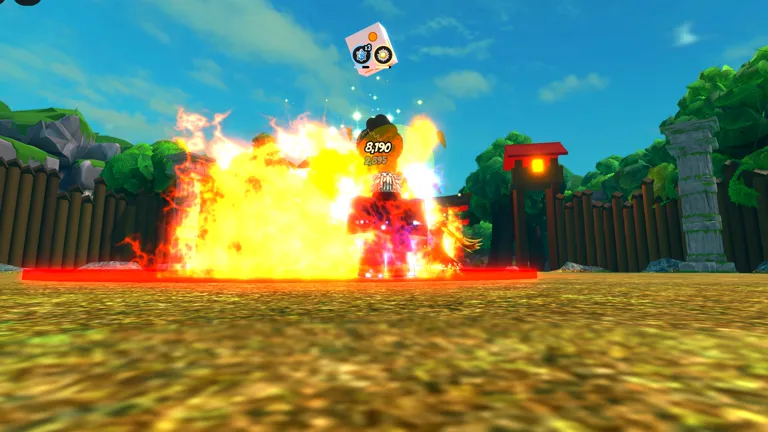
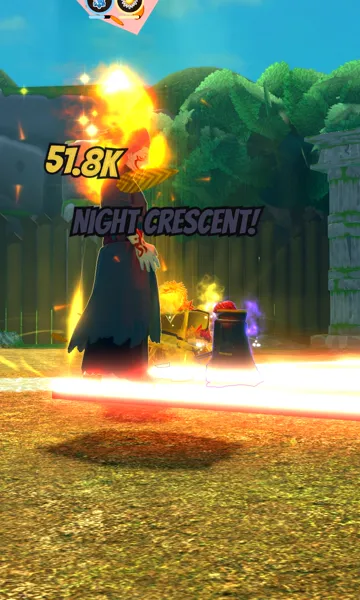
The pictures on this page are from other games our agents built, not an obby: we would rather show real work than a mock-up. See the plans to start yours. If you already have an obby live, the free Game Review will score it against its rivals.
Questions people ask
Can AI make an obby on Roblox?
Yes. AI can script the obstacles, checkpoints and saving and place the stages in Roblox Studio. Give it a stage list and your jump distances, and playtest every stage, because an AI can’t feel whether a jump is fair.
How far can a Roblox character jump?
At Roblox’s default walk speed of 16 and jump height of 7.2 studs, a running jump covers a little under 9 studs and reaches about 7 studs up. Change either setting and the distances change.
How do I make checkpoints in a Roblox obby?
Put a checkpoint part on each stage. When a player touches the next one in order, have the server record their stage, set their respawn point there and save the stage with DataStoreService.
How many stages should an obby have?
Enough for a first session and a reason to come back. Start with a set you can test properly, with a gentle first ten, and add more in updates once players are finishing it.
How do obbies make Robux?
Mostly from a skip-stage developer product and from passes for permanent perks. A game has to keep players first: fix the difficulty curve before you add the shop.